The use of “Special Keywords” in TeamGram CRM allows you to enter data seamlessly and quickly in multiple fields. This feature provides easy access to all information stored in TeamGram CRM, eliminating the need to repeatedly enter the same information.
Areas of Use for Special Keywords
Quote Templates
You can define various pieces of information as “Special Keywords” that you want to use in a quote template. The information related to the defined “Special Keywords” in TeamGram CRM’s quote template automatically populates in every quote. This enables you to edit your quotes quickly and accurately, enhancing the standard and quality of your quotes.
From the TeamGram CRM top menu:
‘More’ > ‘Control Panel’ > ‘Quote Settings’ > ‘Print Templates’ and then click on the pencil icon for the quote template you want to edit. After defining the areas you want to label with “Special Keywords” in your template, you can add “Special Keywords” to these areas by clicking the “Insert special keyword” button in the template editing table.
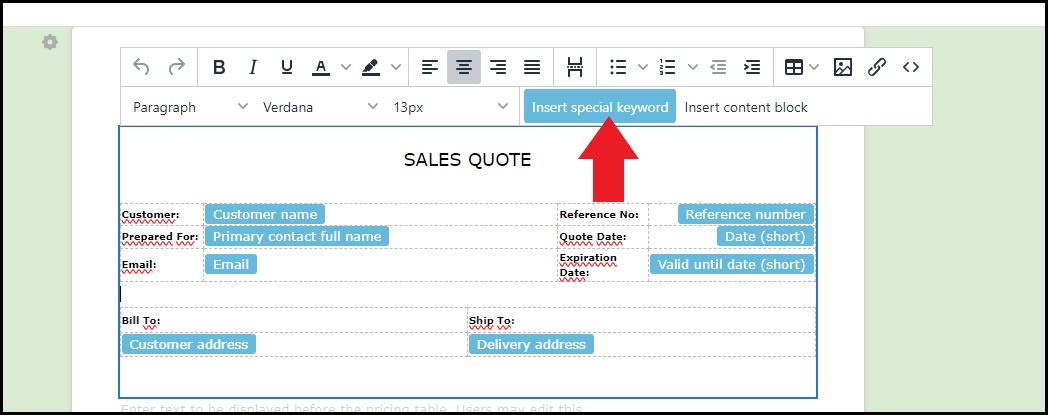
”Special Keywords” options consist of a wide range of choices that cover your customers, users, and various aspects of your company.
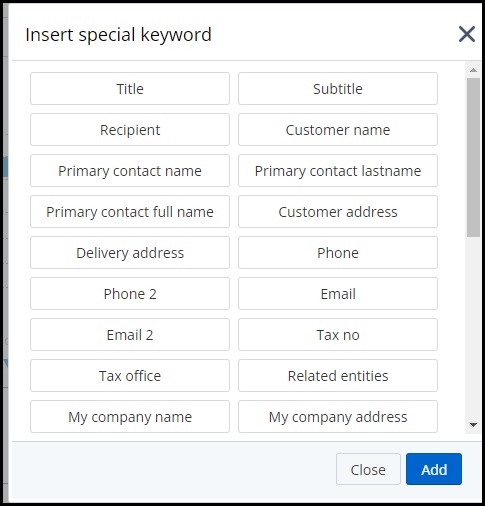
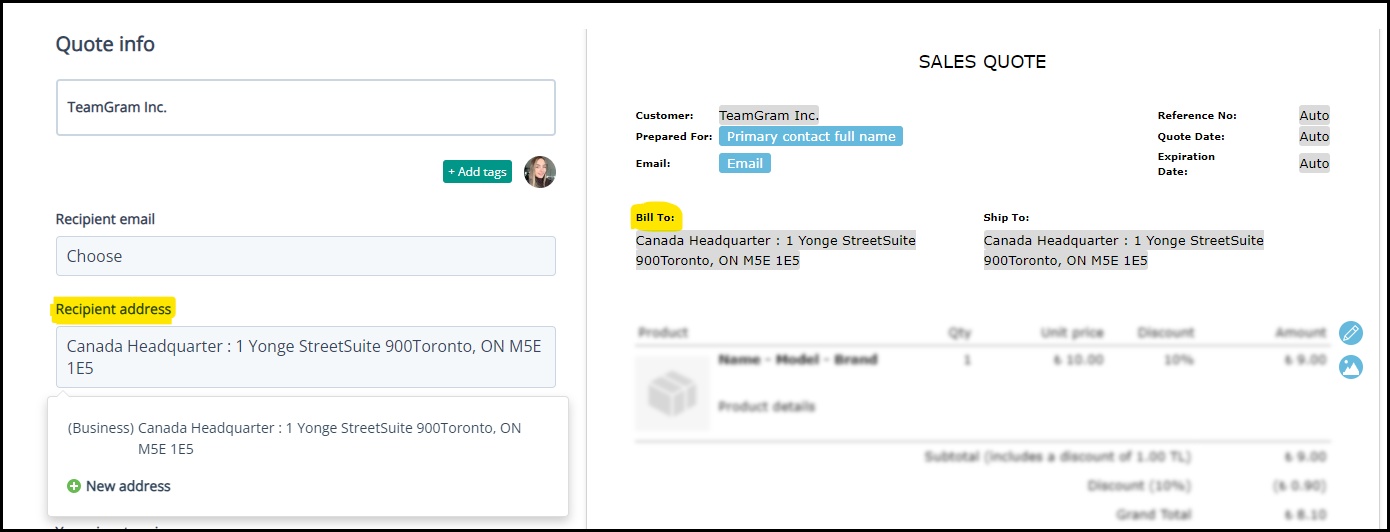
For example, when you add the “Customer Address” as a ”Special Keywords” to the quote template, it ensures that the customer’s address information stored in TeamGram CRM automatically populates in the relevant field of the quote.
”Special Keywords” allow you to include many standard options such as “Phone, Email, Tax No,” enabling these details to automatically appear in your quotes.
To create your quotes more quickly and easily, you can add your “Custom Fields” defined in your ‘Companies’ or ‘Contacts’ records as “Special Keywords”.
For instance, if you have created a custom field for the “Delivery Option” information based on your customer’s preference and want to display this information in your quotes:
From the TeamGram CRM top menu:
Go to ‘More’ > ‘Control Panel’ > ‘Company/Contact Settings’ > Create a custom field for company/contact records in the “Custom Fields” tab. Enter the relevant information for this custom field from your company/contact records.
Then, from the TeamGram CRM top menu:
Go to ‘More’ > ‘Control Panel’ > ‘Quote Settings’ > ‘Print Templates’ > Click on the pencil icon to edit the template you are using. After defining the areas you want to label with “Special Keywords” in your template, click the “Insert special keyword” button in the template editing table. Add the custom field you created for company records to the template.
Now, when you create a quote, the “Delivery Option” information for your customers will be visible in your quote.
Email Templates
The use of “Special Keywords” in email templates is divided into two parts:
1.The text that will appear when sending an email for a quote.
When sending your quote to the customer via email, you can edit the text as you wish and request that certain information automatically populate in the text.
To edit this area, follow these steps in TeamGram CRM:
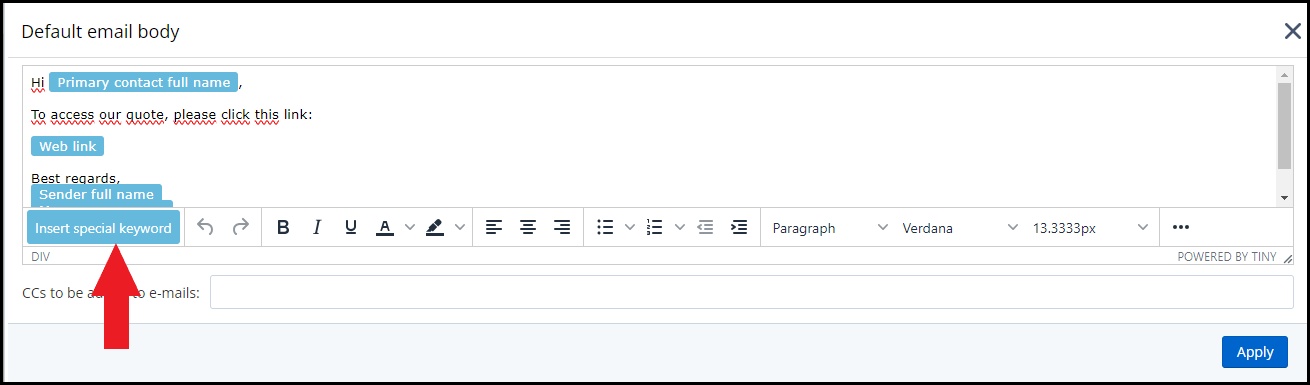
From the top menu, go to ‘More’ > ‘Control Panel’ > ‘Quote Settings’ > ‘Print Templates,’ then click on the pencil icon for the quote template you want to edit. Click on the “Default e-mail body” tab located at the bottom right in the template settings.
In this area, you can click the “Insert special keyword” button to include “Special Keywords” such as “Customer Name, Your Company Name, Sender’s Full Name.” The email structure defined in your quote template will be applicable to all quotes you create based on this template. When preparing your email, this information will automatically appear in the relevant fields.
2.Email Templates (For Leads, Contacts, or Companies)
You can define “Special Keywords” for the templates you create to use in email communications with ‘Leads’, ‘Contacts’, or ‘Companies’.
Follow these steps in TeamGram CRM:
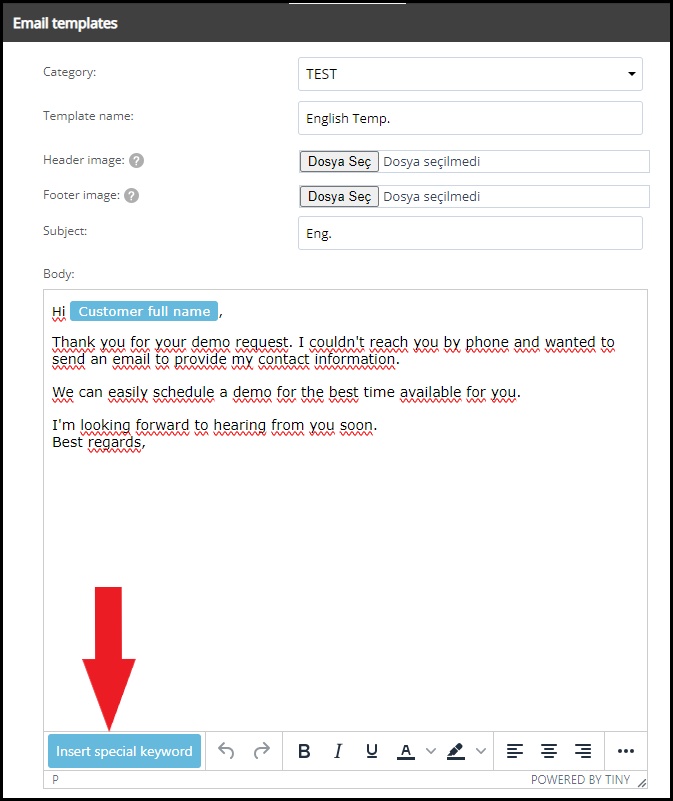
– From the top menu, go to ‘More’ > ‘Control Panel’ > ‘Email Templates.’
– Create a new template or click on the pencil icon to edit an existing email template.
Click the “Insert special keyword” button to include “Special Keywords” such as “Customer Name, Your Company Name, Sender’s Full Name.” This allows you to ensure that these details are automatically filled in for each email you send, making the communication more personalized and efficient.
For detailed information about email templates, you can click here to review our support article.